Keeping your makeup tools clean is one of the easiest ways to make application smoother and more hygienic. Brushes collect foundation, powder, oil, skin cells, and product residue every time they touch your face. When that buildup stays in the bristles, colours can look muddy, cream products can apply unevenly, and the brush may feel rougher than it should. A regular wash protects the shape of the bristles and helps every product perform as intended.
This guide explains how to clean makeup brushes safely at home, including what to use, how much water to use, and how to dry them without damaging the handles. If you have searched for “how to clean makeup brush,” the short answer is to use a gentle cleanser, keep water away from the metal part of the brush, rinse thoroughly, and let it dry flat. The details below will help you do that properly with both face and eye brushes.
Why brush cleaning matters
Makeup brushes pick up more than makeup. Liquid foundation, concealer, cream blush, and sunscreen can leave a film near the base of the bristles. Powder products add colour and fine particles. If a brush is used on irritated or acne-prone skin, leaving that residue in place can make the next application less comfortable. Clean tools also give better control: a blush brush stays soft, a blending brush keeps its shape, and an eye brush can place colour more precisely.
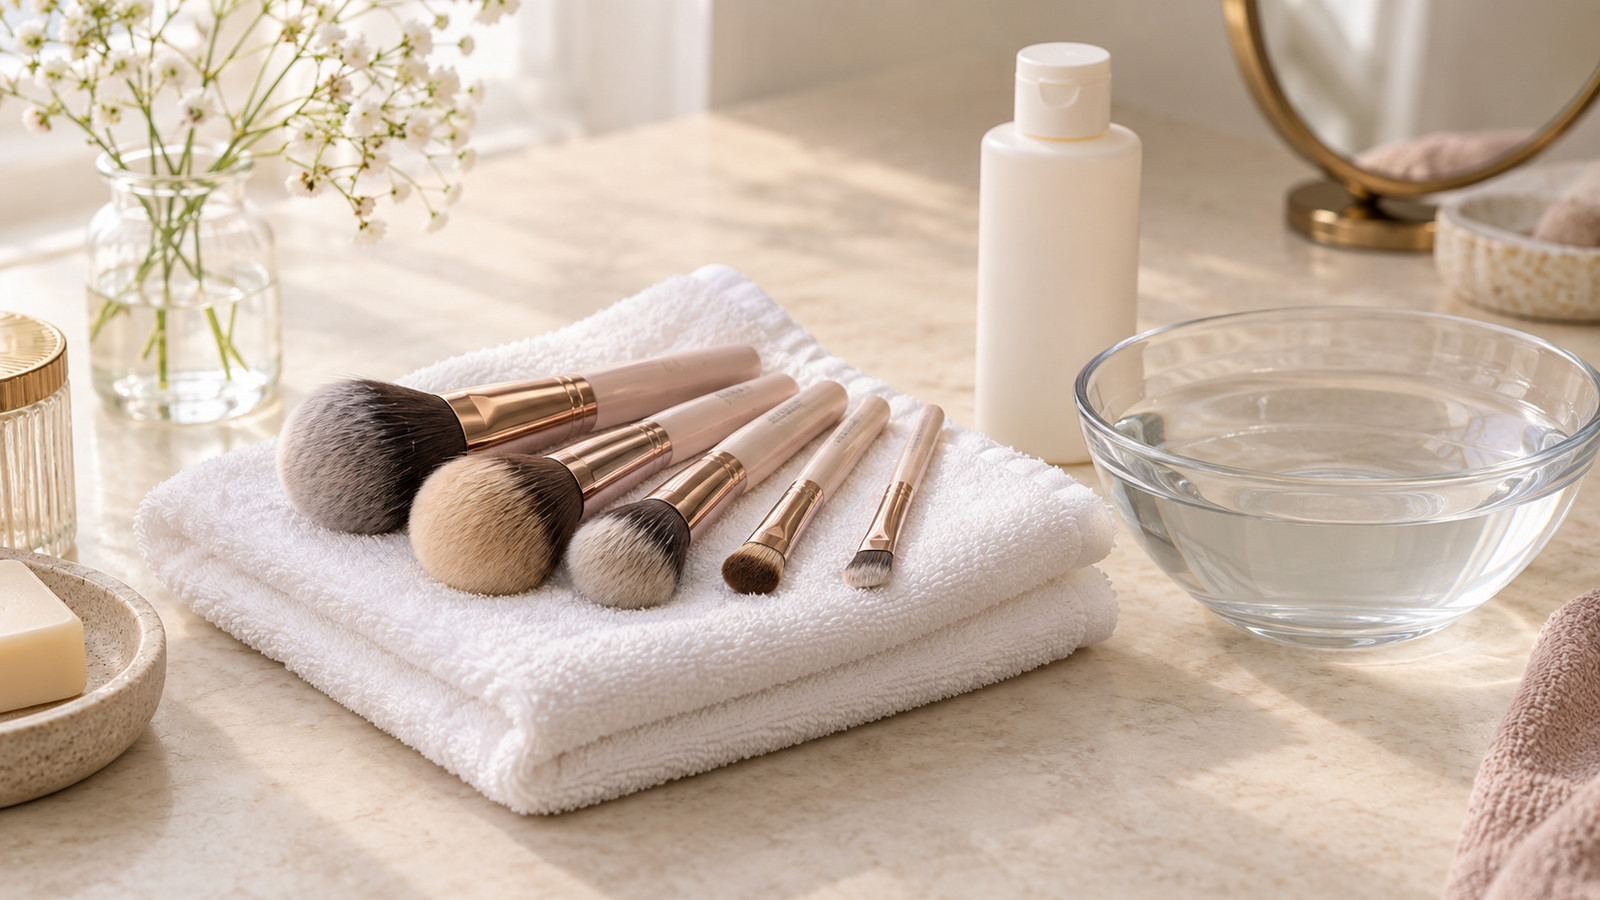
Cleaning does not need expensive equipment. A mild brush cleanser is convenient, but a small amount of gentle fragrance-free liquid soap can work for most synthetic bristles. A silicone cleansing mat is optional. Your clean palm, a shallow bowl, and a lint-free towel are enough. Avoid harsh household cleaners, alcohol-heavy products, and strongly scented soaps because they can dry the bristles or leave residue behind.
Good brush care also fits naturally into a wider routine. Pairing clean tools with freshly washed skin can support a more comfortable makeup routine, especially if you already follow a DIY skincare routine at home.
What you need before you start
- Gentle makeup brush cleanser or mild liquid soap
- Lukewarm water
- A clean towel or absorbent microfiber cloth
- A shallow bowl or your clean palm for working in the cleanser
- Optional: a silicone cleansing mat or brush-cleaning glove
Use lukewarm rather than hot water. Very warm water can loosen glue inside the metal ferrule, which is the metal section connecting the bristles to the handle. For the same reason, never soak the complete brush in a cup or leave it submerged. The goal is to cleanse only the bristle area while keeping the handle and ferrule as dry as possible.
How to clean makeup brushes step by step
1. Remove loose product first
Start by lightly wiping each brush on a dry towel. This removes loose powder and makes the wash more effective. For a brush covered in a thick cream or long-wear product, use a clean tissue to lift off the excess first. Do not pull the bristles or scrub the brush against a rough surface.
2. Wet only the bristles
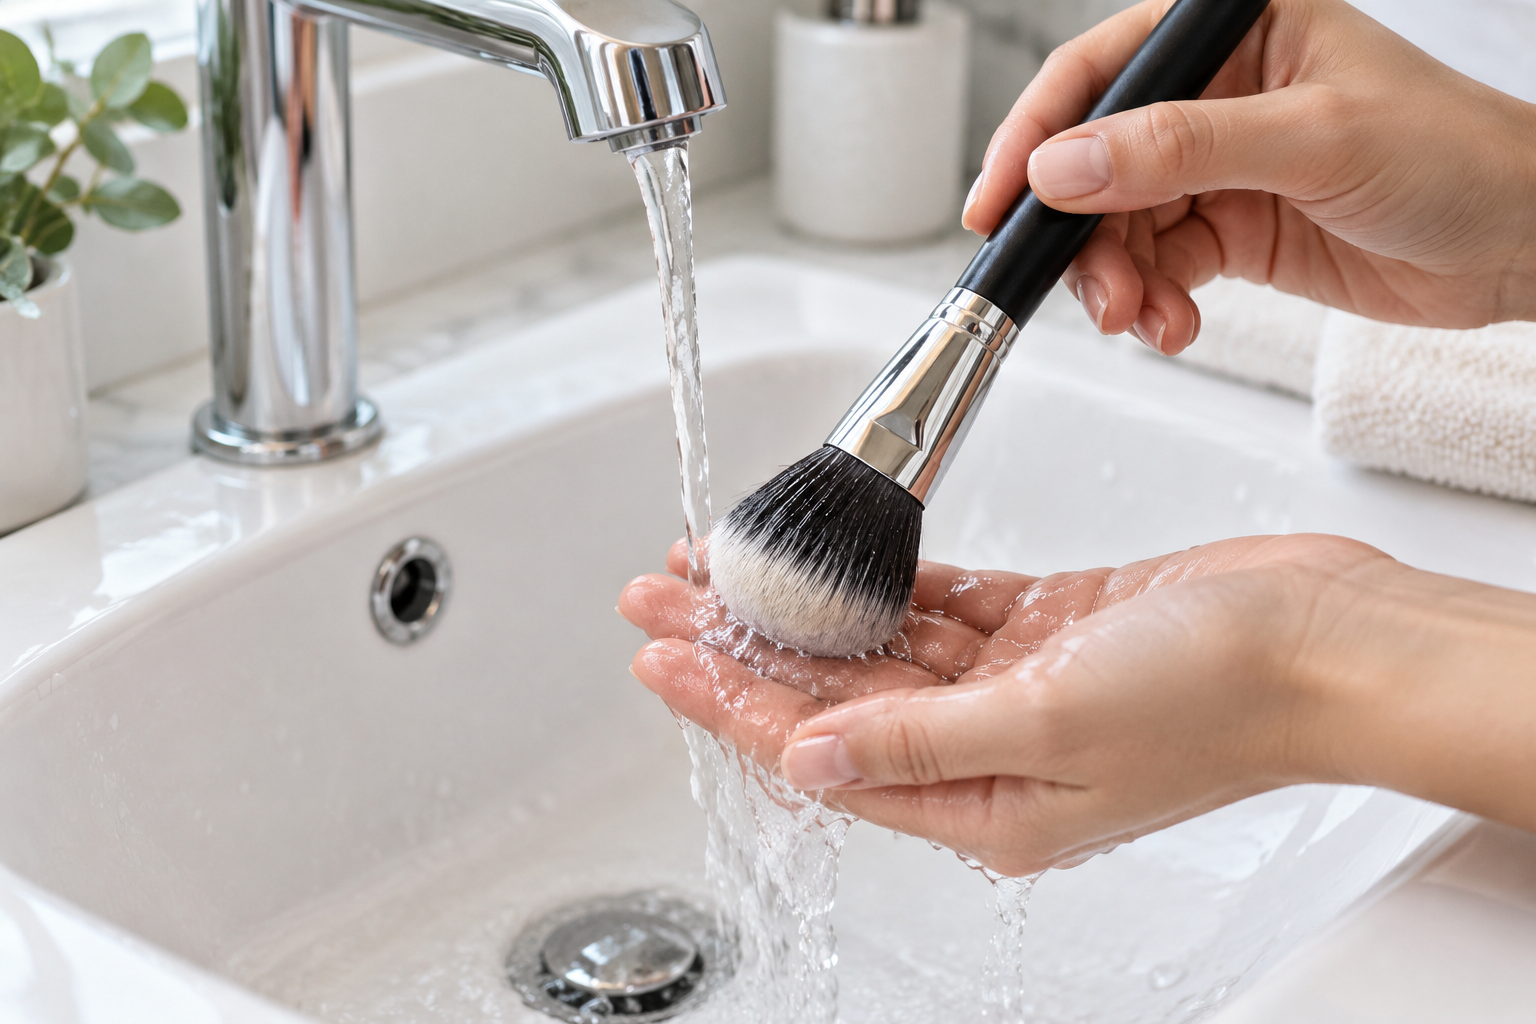
Hold the brush with the bristles facing down and place them under a gentle stream of lukewarm water. Keep the metal ferrule higher than the bristle tips. This direction helps prevent water from travelling inside the handle. Wet the tips until they are damp, but do not leave the brush under running water for longer than needed.
3. Add a small amount of cleanser
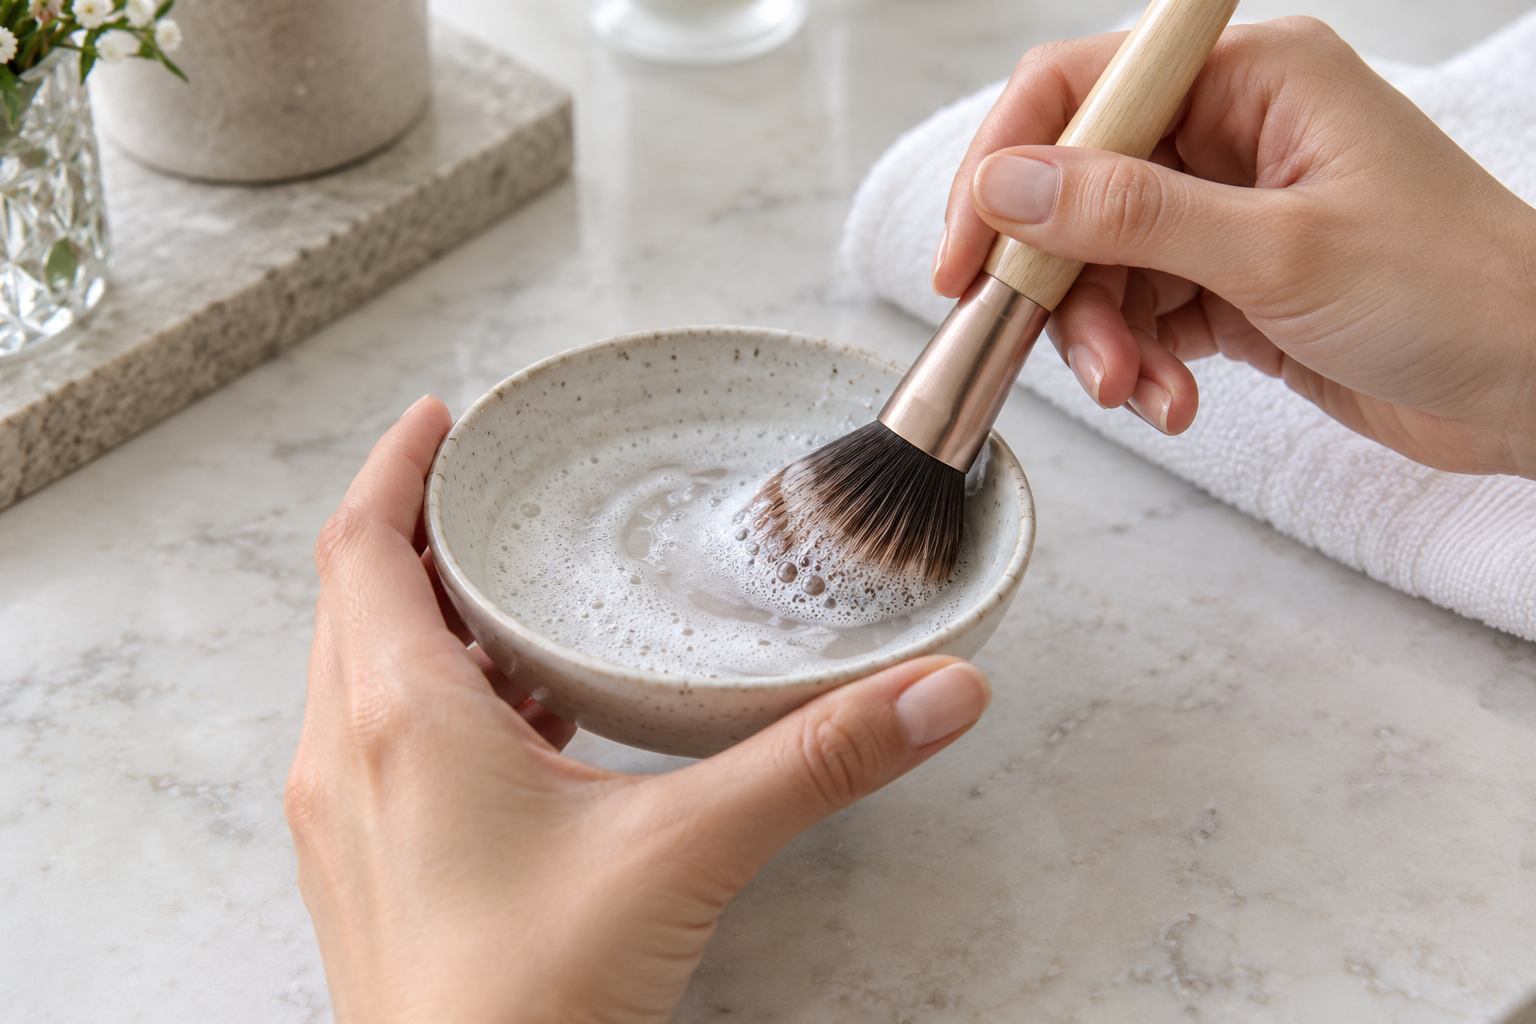
Put a small drop of cleanser into your palm or onto a silicone mat. Gently swirl the damp bristles through the product. For large face brushes, use slow circular movements. For small eye brushes, use short side-to-side strokes. The movement should be soft enough to protect the bristle shape. You do not need to press hard to remove residue.
4. Work through built-up makeup carefully
When the foam changes colour, rinse the brush and repeat with a fresh small drop of cleanser if needed. Dense foundation brushes may require two rounds, while a powder brush often needs only one. If product remains near the centre of a tightly packed brush, use your fingers to gently open the bristles and work cleanser through them. Do not twist, bend, or pull at the brush head.
5. Rinse until the water runs clear
Rinse the bristles again while keeping the brush angled down. Continue until no colour or foam appears in the water. Leftover cleanser can make a brush feel stiff after drying, so this stage matters. If you can still see foundation tint or feel a slippery film, use another small amount of cleanser and repeat the rinse.
6. Remove water without wringing
Gently squeeze the bristles from the ferrule toward the tips with clean fingers. Then press the brush into a towel to absorb excess water. Do not twist the bristles like fabric, and do not yank the handle. Reshape the brush head with your fingers so it returns to its original rounded, flat, tapered, or angled form.
7. Dry the brushes flat
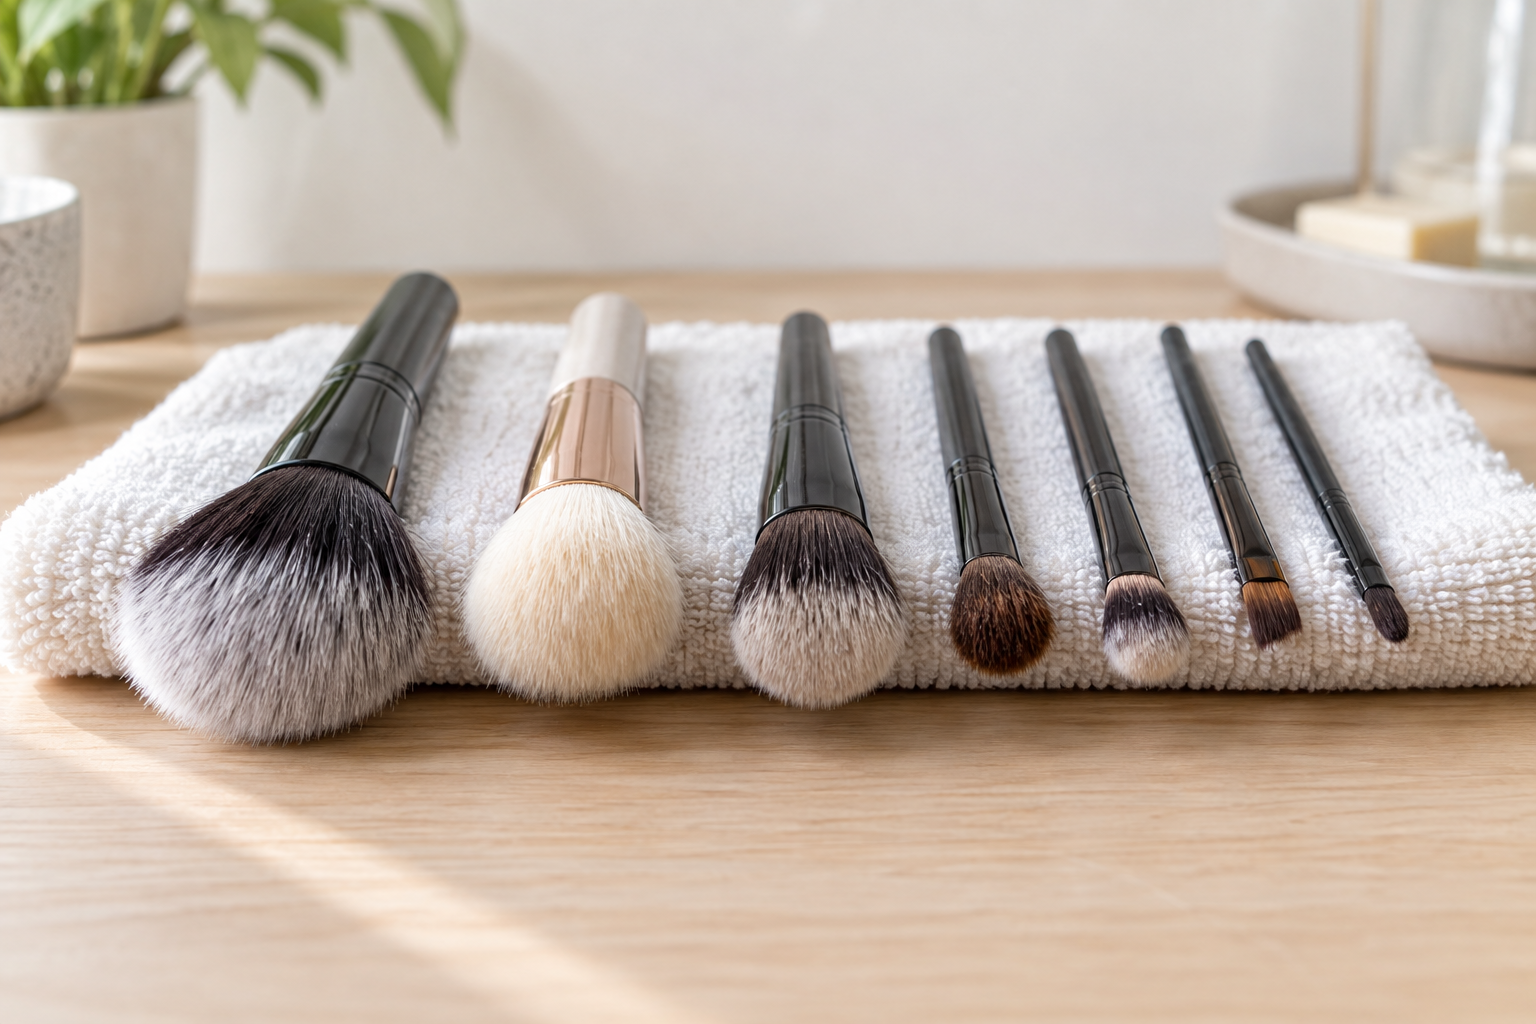
Lay the brushes on a clean towel with the bristles hanging just over the edge of a counter if possible. This position helps air reach the brush head and prevents moisture from sitting at the base. A brush-drying rack is also useful when it holds the handles higher than the bristles. Never stand wet brushes upright in a holder because water can move down into the ferrule.
How often should you wash different brushes?
Your ideal schedule depends on the products you use and how sensitive your skin feels. Brushes used with liquid or cream formulas usually need attention more often because residue builds up faster. A brush used only for setting powder may last a little longer between full washes. If you have an eye infection, active skin irritation, or a brush that smells unusual, stop using it until it has been cleaned and fully dried.
| Brush type | Typical use | Suggested cleaning schedule |
|---|---|---|
| Foundation and concealer brush | Liquid or cream products | About once a week, or sooner with frequent use |
| Blush, bronzer, and powder brush | Powder products | Every one to two weeks |
| Eye and lip brush | Detailed colour application | Weekly; clean sooner when changing colours or after an eye concern |
| Sponges and dense cream tools | Liquid or cream products | Wash after each use when possible |
If you wear makeup most days, set a fixed day for a full wash. If you use only a few brushes occasionally, clean them before your next application when you notice product buildup. Between washes, a quick dry brush-cleaning spray can remove surface colour, but it is not a full replacement for washing with water and cleanser.
Special care for natural and synthetic bristles
Synthetic brushes are common for liquid, cream, and powder formulas. They are usually easier to wash because product sits closer to the surface of the fibres. Natural-hair brushes can feel very soft, but they may need extra care to avoid dryness or misshaping. Use a gentle cleanser, keep the washing time short, and avoid using hot water on either type.
After washing a natural-hair brush, reshape the head carefully and allow more drying time. Do not apply hair conditioner unless the manufacturer specifically recommends it. A coating can change how the bristles pick up and release makeup. For any brush, check the brand’s care instructions if the handle is painted, wooden, or specially finished.
Common mistakes that can ruin a makeup brush
- Soaking the full brush in water, which can loosen glue and damage wooden handles.
- Using very hot water, which can affect the bristle shape and adhesive.
- Scrubbing hard against a rough towel or mat, which can cause shedding.
- Using dish soap or strong household products too often, which may leave bristles dry.
- Drying brushes upright while they are still wet.
- Putting damp brushes back into a closed bag, drawer, or brush holder.
Brushes that keep shedding, feel scratchy after several gentle washes, or have a loose ferrule may be near the end of their useful life. Replace them when they no longer apply product evenly or when they cannot be cleaned properly.
How to keep brushes clean between full washes
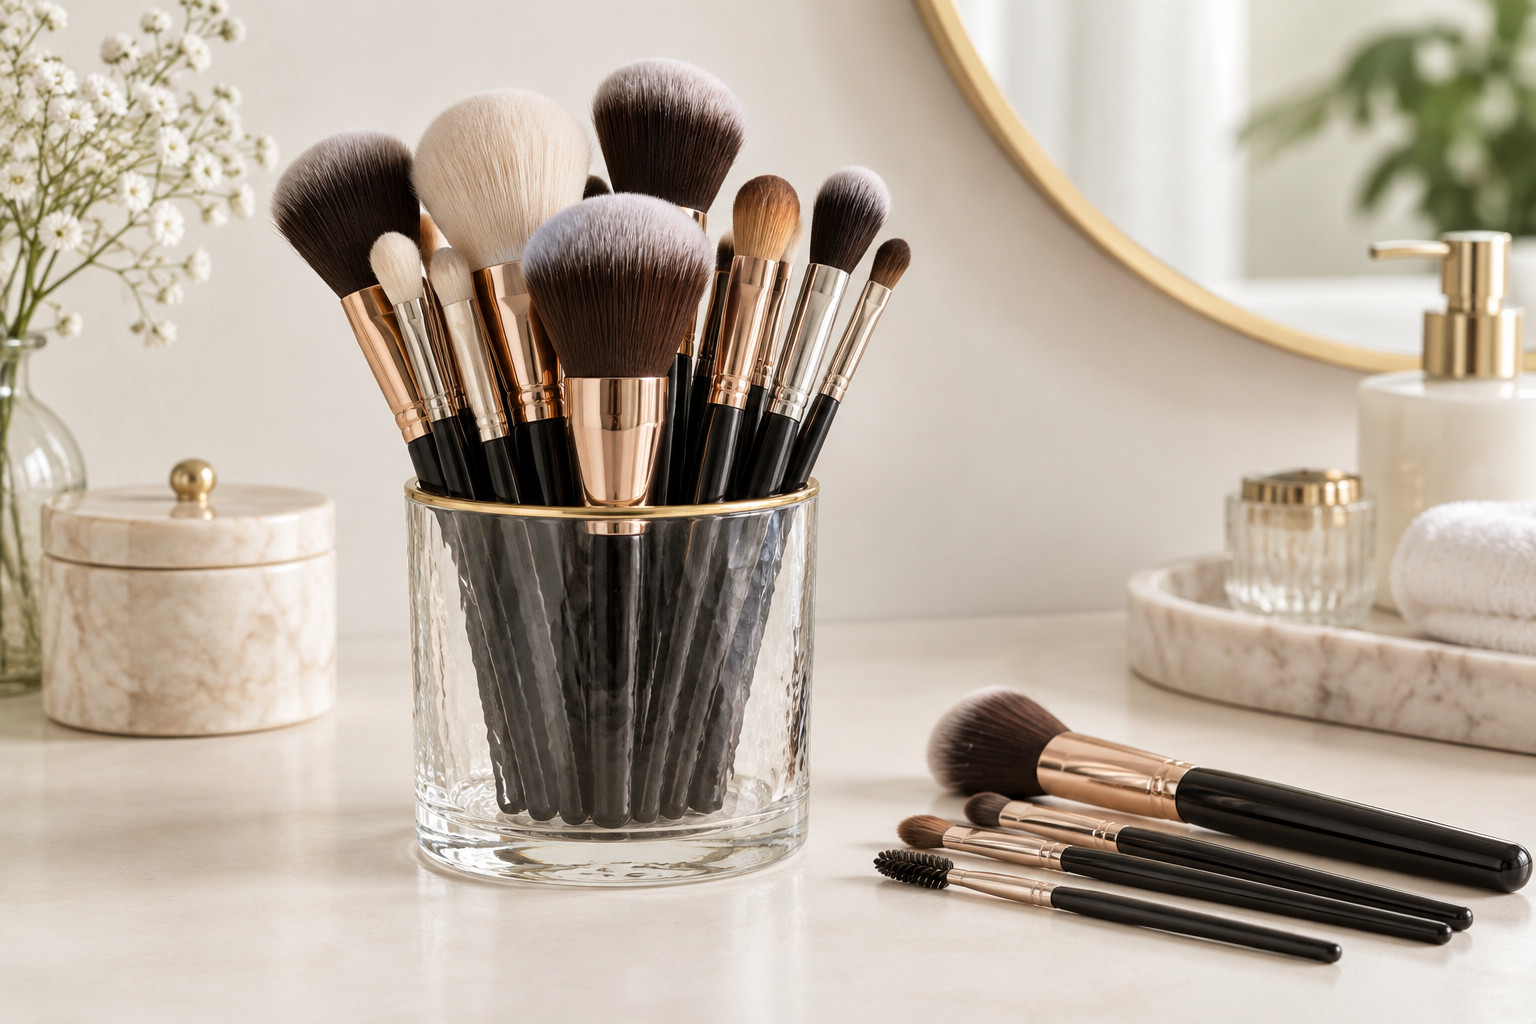
Small habits make full cleaning less difficult. Keep brushes in a clean holder once they are dry, and do not leave them on a dusty vanity. Avoid sharing eye and lip brushes. If you need to switch between strong shades during one makeup session, wipe the brush on a dry microfiber cloth or use a quick-dry brush cleanser, then allow it to dry before using it again.
For more ideas on products, techniques, and colour placement, explore the site’s makeup tutorials and trend ideas. Clean tools are especially helpful when you want crisp results from a detailed look, such as this shimmery lip makeup look. You can also find more skincare advice to build a routine that works well before makeup application.
Frequently asked questions
Can I use shampoo to wash makeup brushes?
A gentle, fragrance-free shampoo can work in a pinch, but a mild brush cleanser or simple liquid soap is often easier to rinse fully. Avoid heavy conditioning shampoos because they can leave a coating on the bristles.
Can I use baby wipes instead of washing?
Wipes can remove a small amount of surface colour, but they do not clean deep inside a dense brush. Use them only as a temporary step between full washes, not as your main cleaning method.
How long do brushes take to dry?
Small eye brushes may dry overnight. Large, dense face brushes can take a full day or longer, depending on the room temperature and humidity. Use them only when the bristles and base feel completely dry.
Final takeaway
A gentle wash, careful rinse, and flat air-dry routine will keep your tools in better condition and make makeup easier to apply. The process takes only a few minutes of hands-on time, and a simple weekly schedule prevents heavy residue from becoming difficult to remove. Treat the bristles gently, keep water away from the handle, and give every brush enough time to dry before it goes back into storage.