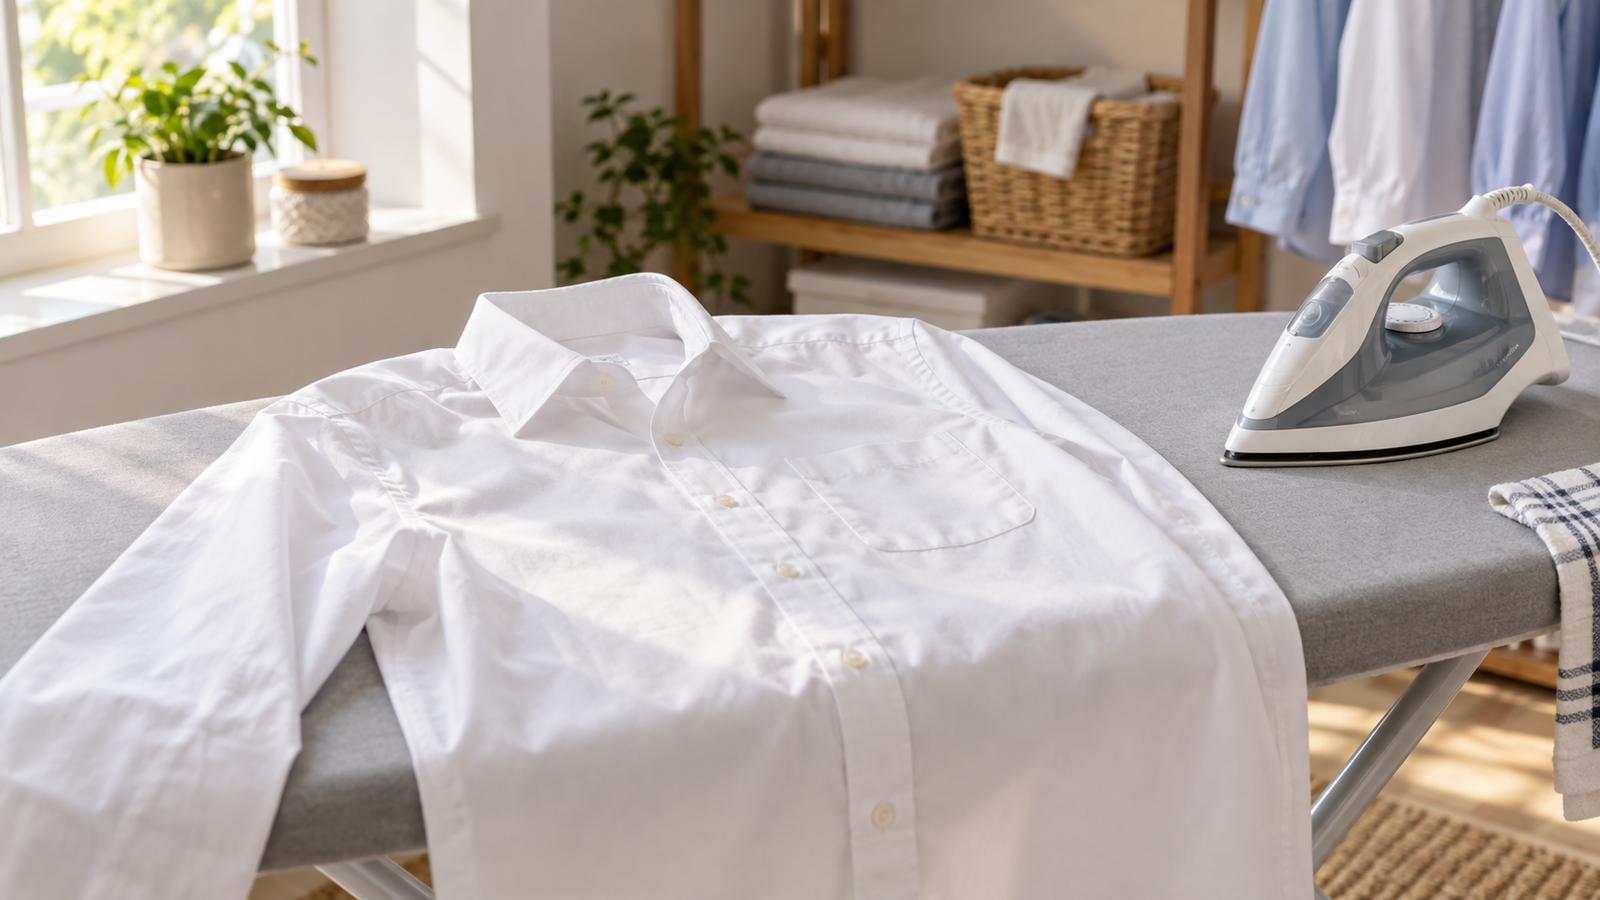
A neat shirt can make daily dressing easier, whether you are leaving for work, a meeting, an event, or a casual day out. Good results do not require professional equipment. You only need the right heat, a stable surface, and a simple order of work. This guide explains how to iron a shirt safely while protecting the fabric, buttons, collar, and seams.
Start by reading the care label. It tells you the safest heat setting and whether steam is suitable. When a shirt has a blend of fabrics, follow the setting for the most delicate fibre. If you are unsure, test the iron on the inside hem first. This small check can prevent shine, marks, or heat damage on the visible side of the garment.
What you need before you start
Set up near a socket with enough room to move the shirt. A standard ironing board is useful because its padded surface supports the fabric and its narrow end helps with shoulders. Fill the iron with water only if the label allows steam and your iron is designed for it. Distilled water can help reduce mineral build-up if your manual recommends it.
- A clean iron with a smooth soleplate
- An ironing board or another firm, heat-safe surface
- A hanger for the finished shirt
- A thin cotton pressing cloth for dark, delicate, printed, or synthetic fabrics
- Clean water for steam, when appropriate
Wash and dry the shirt before pressing it. A shirt that is slightly damp is often easier to smooth than one that is fully dry. If it has dried completely, use a light mist of water or the iron’s steam function after checking the care label. Do not soak the material; too much moisture can create new creases and make the shirt slow to dry.
Choose the right temperature for the fabric
Using more heat than necessary is a common reason clothes become shiny, scorched, or warped. Let the iron fully reach its selected setting before touching the shirt. Begin with low-heat items if you are doing a load of laundry, then raise the setting for sturdier fabrics. This avoids transferring high heat from a cotton item to a synthetic one.
| Fabric | Suggested heat | Useful approach |
|---|---|---|
| Cotton | Medium to high | Steam usually helps with firm creases. |
| Linen | High | Press while slightly damp and use steam if the label permits it. |
| Wool | Low to medium | Use a pressing cloth and lift the iron between areas. |
| Silk or viscose | Low | Press inside out with a cloth; avoid heavy steam unless the label allows it. |
| Polyester and other synthetics | Low | Use light pressure and a pressing cloth when in doubt. |
How to iron a shirt for beginners: use a simple order
Work from the smaller, shaped parts to the large flat panels. This order keeps finished areas from becoming wrinkled again as you move the garment around the board. Unbutton the shirt, including the cuffs, and smooth each section with your free hand just before the iron touches it. Keep the iron moving in short, controlled passes instead of leaving it in one spot.
1. Start with the collar
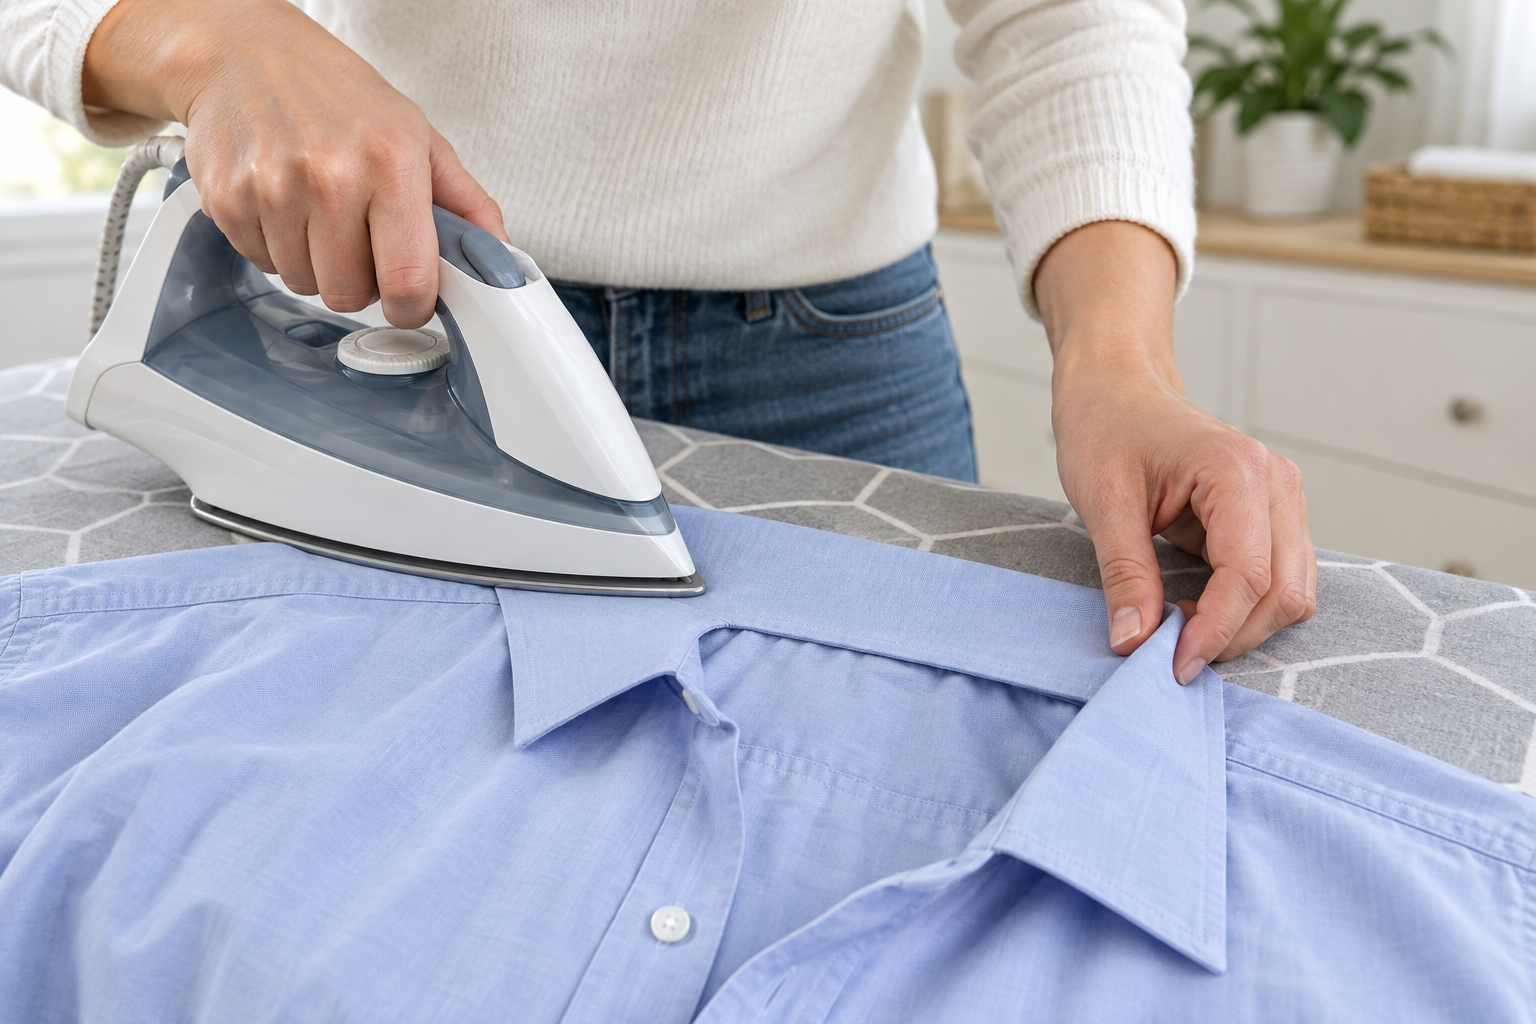
For anyone asking how to iron a shirt collar, lay it flat with the underside facing up. Press from each collar point toward the centre, using the narrow tip of the iron around the edges. Turn the collar over and repeat on the outer side. Avoid forcing a sharp crease along the fold unless that is the style you want. Let the collar cool flat before folding it down.
2. Press the shoulder yoke
The yoke is the panel across the upper back and shoulders. Place one shoulder over the narrow end of the board. Smooth the fabric and press from the seam outward. Shift the shirt to reach the other side. Use the tip of the iron carefully around the seams, but do not press hard enough to flatten the shoulder shape.
3. Do the cuffs and sleeves
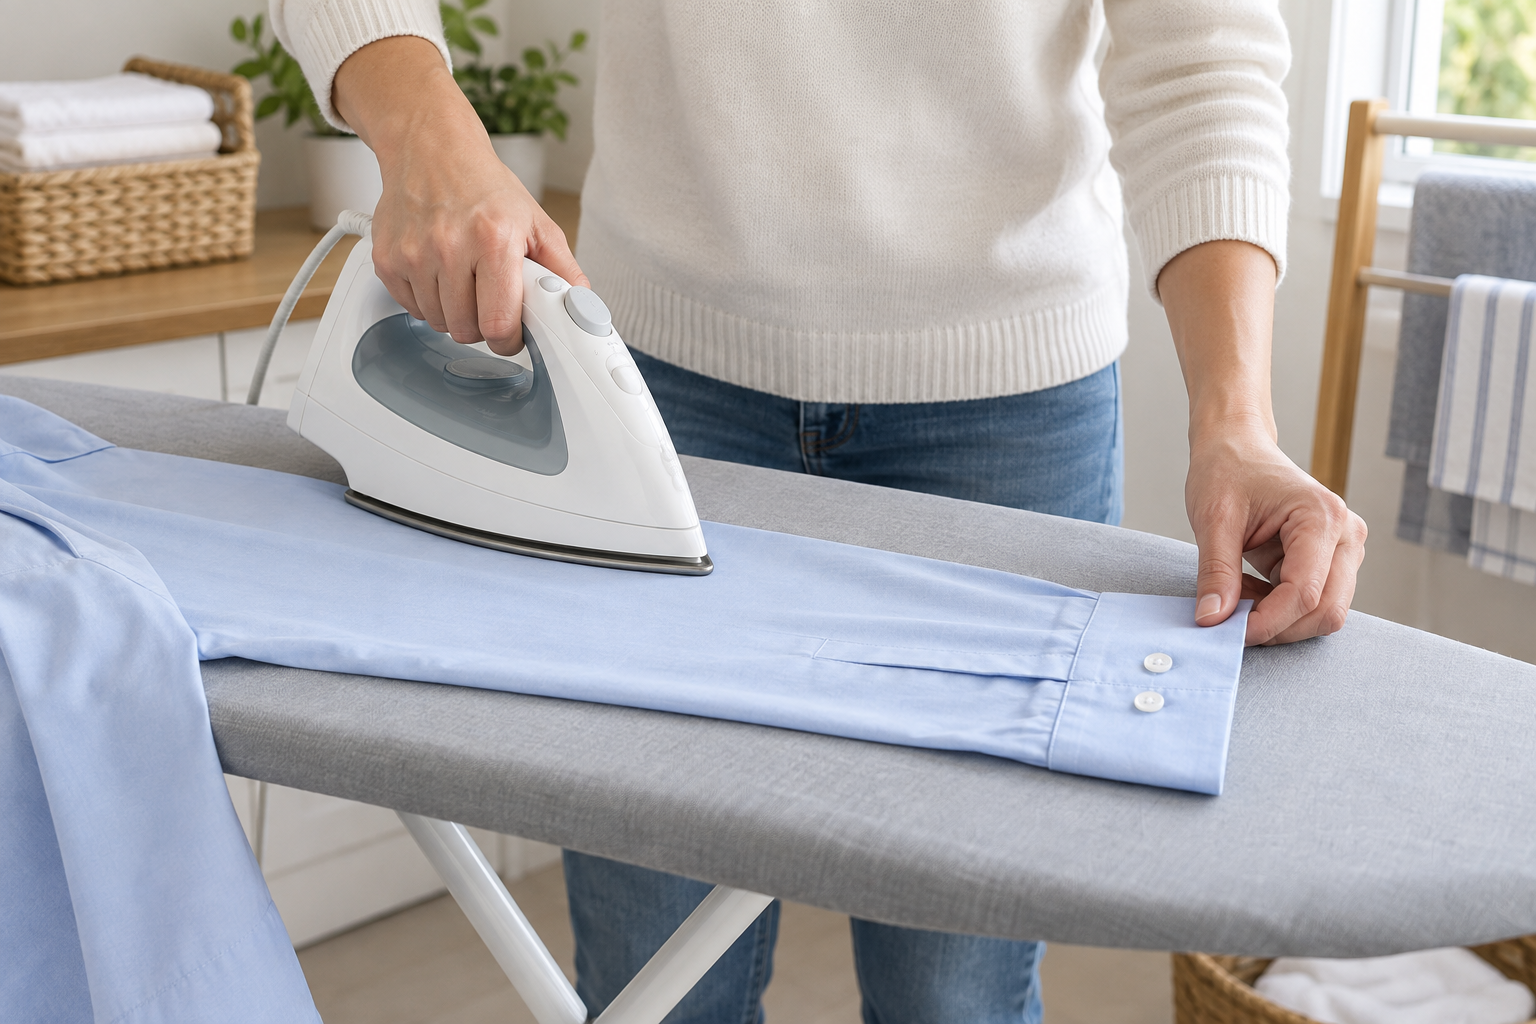
Open each cuff and press the inside first. Work around buttons rather than placing the hot soleplate directly on them, because heat can damage some button materials. Lay one sleeve flat with its seam aligned. Press from the armhole toward the cuff, then turn the sleeve and finish the other side. If you prefer no centre crease, keep the sleeve seam at the edge rather than in the middle. Repeat on the second sleeve.
4. Finish the front panels
Place one front panel flat on the wide end of the board. Begin near the shoulder and move down in small sections. Use the pointed end of the iron between buttons and along the placket. Never run directly over buttons. Turn the shirt to press the second panel, then check pockets, darts, and side seams for small wrinkles.
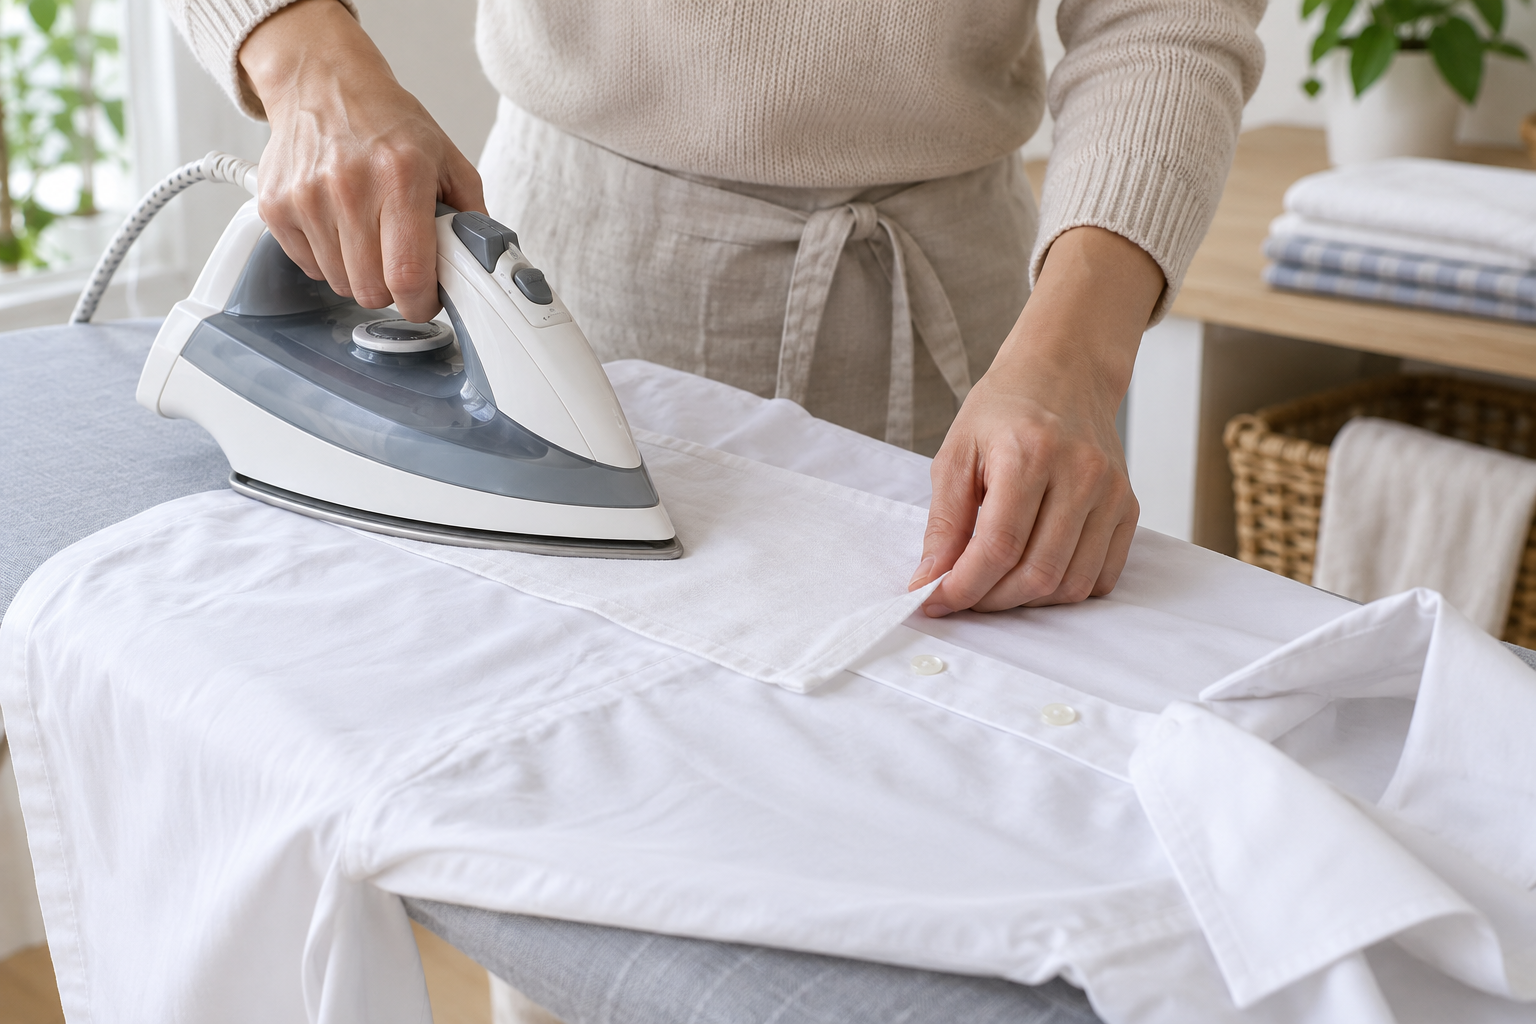
5. Press the back last
Spread the back panel over the broadest part of the board. Start below the yoke and work downward in overlapping passes. Move the shirt as needed instead of stretching your arm across the board. Check both side seams and the lower hem before switching off the iron. These iron a shirt steps are easy to remember because they follow the shirt’s structure: collar, yoke, cuffs, sleeves, fronts, and back.
How to iron a shirt in 5 minutes when time is short
A five-minute refresh is realistic for a lightly wrinkled shirt, not a heavily creased one. Heat the iron while you hang the shirt on the board. Prioritise the parts people see first: collar, cuffs, front panels, and the upper back. Use short steam passes, then hang the shirt immediately. Skip the areas covered by a jacket only if you know you will wear one. This method works best when the shirt was hung up after washing rather than left in a pile.
For a polished outfit, give the shirt a little time to cool on a hanger. Putting it on while the fabric is still warm can set fresh folds near the elbows and waist. If you are wearing tailoring, the smooth collar and front panels will make the biggest difference. You can also use these care habits when you style oversized blazers without looking boxy, because a tidy shirt gives the outfit a cleaner base layer.
How to iron a shirt without an ironing board
You can press a shirt safely without a board if you create a firm, heat-safe surface. Use a solid table, counter, or floor surface that is clear and dry. Cover it with a folded cotton towel, then add a clean cotton sheet or another thin towel on top. Do not use a bed, a padded sofa, or a plastic surface. They are uneven or can be damaged by heat and moisture.
Use the same order as above, but keep the shirt in small, flat sections. Test the setup with the iron on the covered surface for a moment before placing the shirt down. Steam can pass through thin fabric, so protect the surface underneath and keep hands away from the path of the steam. A rolled towel placed inside a sleeve can help you press it without creating a sharp line.
Can you iron a shirt with a hair dryer?
To iron a shirt with a hair dryer is really an emergency wrinkle-reduction method, not a full replacement for pressing. Hang the shirt, lightly mist it with water, and pull the fabric smooth with one hand. Hold the dryer several inches away and use a warm, not very hot, setting while moving it continuously. Focus on a small area at a time. Check the care label first and avoid high heat on delicate or synthetic fabrics.
A hair dryer can improve mild wrinkles before a quick outing, but it will not give the same crisp finish as an iron. Never place the dryer against wet fabric or leave it running in one area. If a shirt has deep creases, use a proper iron or steamer when you can.
How to iron a dress and other delicate garments
The basic method also helps when you need to iron a dress, but check the material and construction first. Dresses may have lining, pleats, prints, beads, elastic, or delicate trims that need extra care. Turn the garment inside out when possible and use a pressing cloth over silk, satin, dark colours, or decorations. Press seams and flat panels in short sections. For pleats, place them back into shape with your fingers and press lightly from the top down.
Do not apply the iron directly to embellishments, rubberised prints, or heat-sensitive fabric. If you are unsure whether a piece can be pressed, use a garment steamer from a safe distance or ask a professional cleaner. Keeping clothing looking well cared for also supports the overall look of an outfit, just as regular cleaning helps keep white shoes looking clean and white.
Common mistakes to avoid
- Skipping the care label and choosing a temperature by guesswork.
- Leaving the iron still on fabric, especially near seams, pockets, or prints.
- Pressing over buttons instead of working around them.
- Using too much steam on fabrics that water-mark easily.
- Folding or wearing the shirt before it has cooled and dried.
- Putting a hot iron face down on the board or an unprotected surface.
After use, switch the iron off, unplug it, and stand it upright until it is fully cool. Empty the water reservoir if your manufacturer recommends it. A clean soleplate glides more easily and reduces the chance of marks on light-coloured clothes. For more everyday wardrobe guidance, browse our practical style ideas.
Frequently asked questions
Should a shirt be ironed inside out?
Ironing inside out is useful for dark colours, printed fabric, silk, and synthetics because it reduces the risk of shine or marks. Cotton dress shirts can usually be pressed on the outside if you use the correct temperature and keep the iron moving.
Should you use steam on every shirt?
No. Steam is helpful for cotton and linen but may not suit every fabric. Follow the care label, and use a pressing cloth when you need extra protection. If the label says dry iron only, keep the steam function off.
What is the best way to store an ironed shirt?
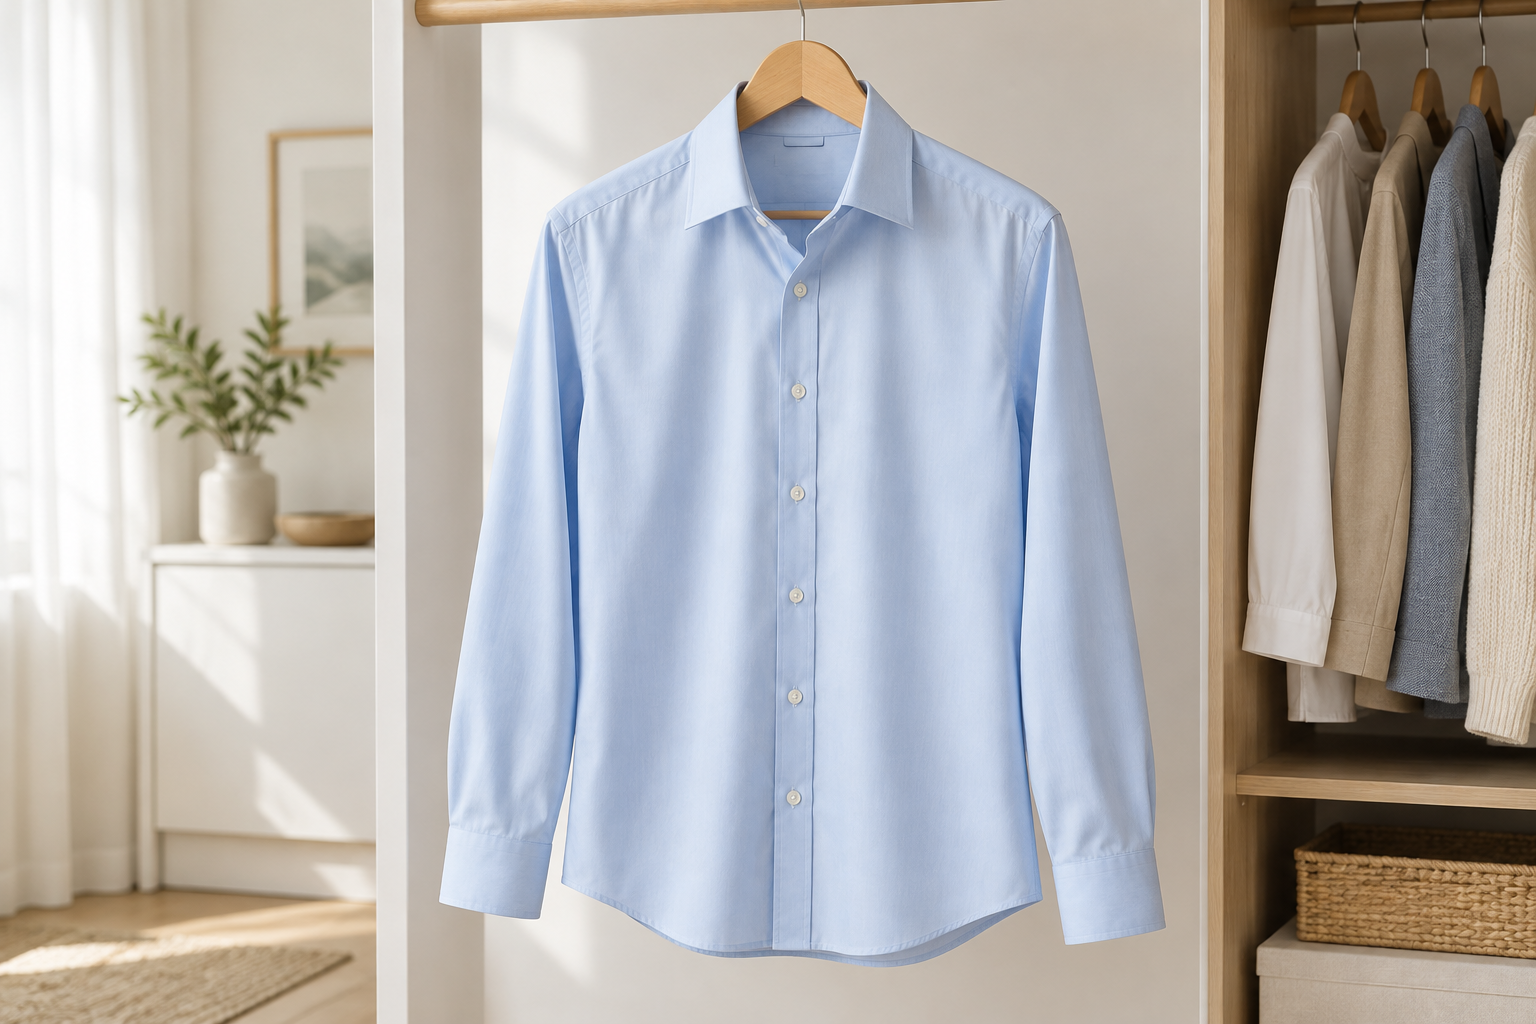
Button one or two buttons, place the shirt on a hanger, and give it enough space in the wardrobe. This prevents the collar and sleeves from being crushed by other clothes.
With the right heat and a consistent order, pressing a shirt becomes a quick part of clothing care. Take a moment to check the fabric, finish the collar and cuffs carefully, and hang the shirt as soon as you are done. The result will look smooth and ready to wear.